As much as I love digital instruments, synthesizers and other electronic gear I also really love the look and feel of instruments made from wood, brass, steel and felt. There is objectively no difference between the best digitally sampled pianos but for some reason it doesn’t quite feel as much alive as an actual instrument. Unfortunately, this limits you to what you can actually play and this is where I’m still very much behind where I would like to be. After hemming and hawing over purchasing a piano I finally settled on a very small grand piano, it had had a rough life and I could buy it at a price you really can’t beat: 100 bucks, ex transport (it cost more to transport!).
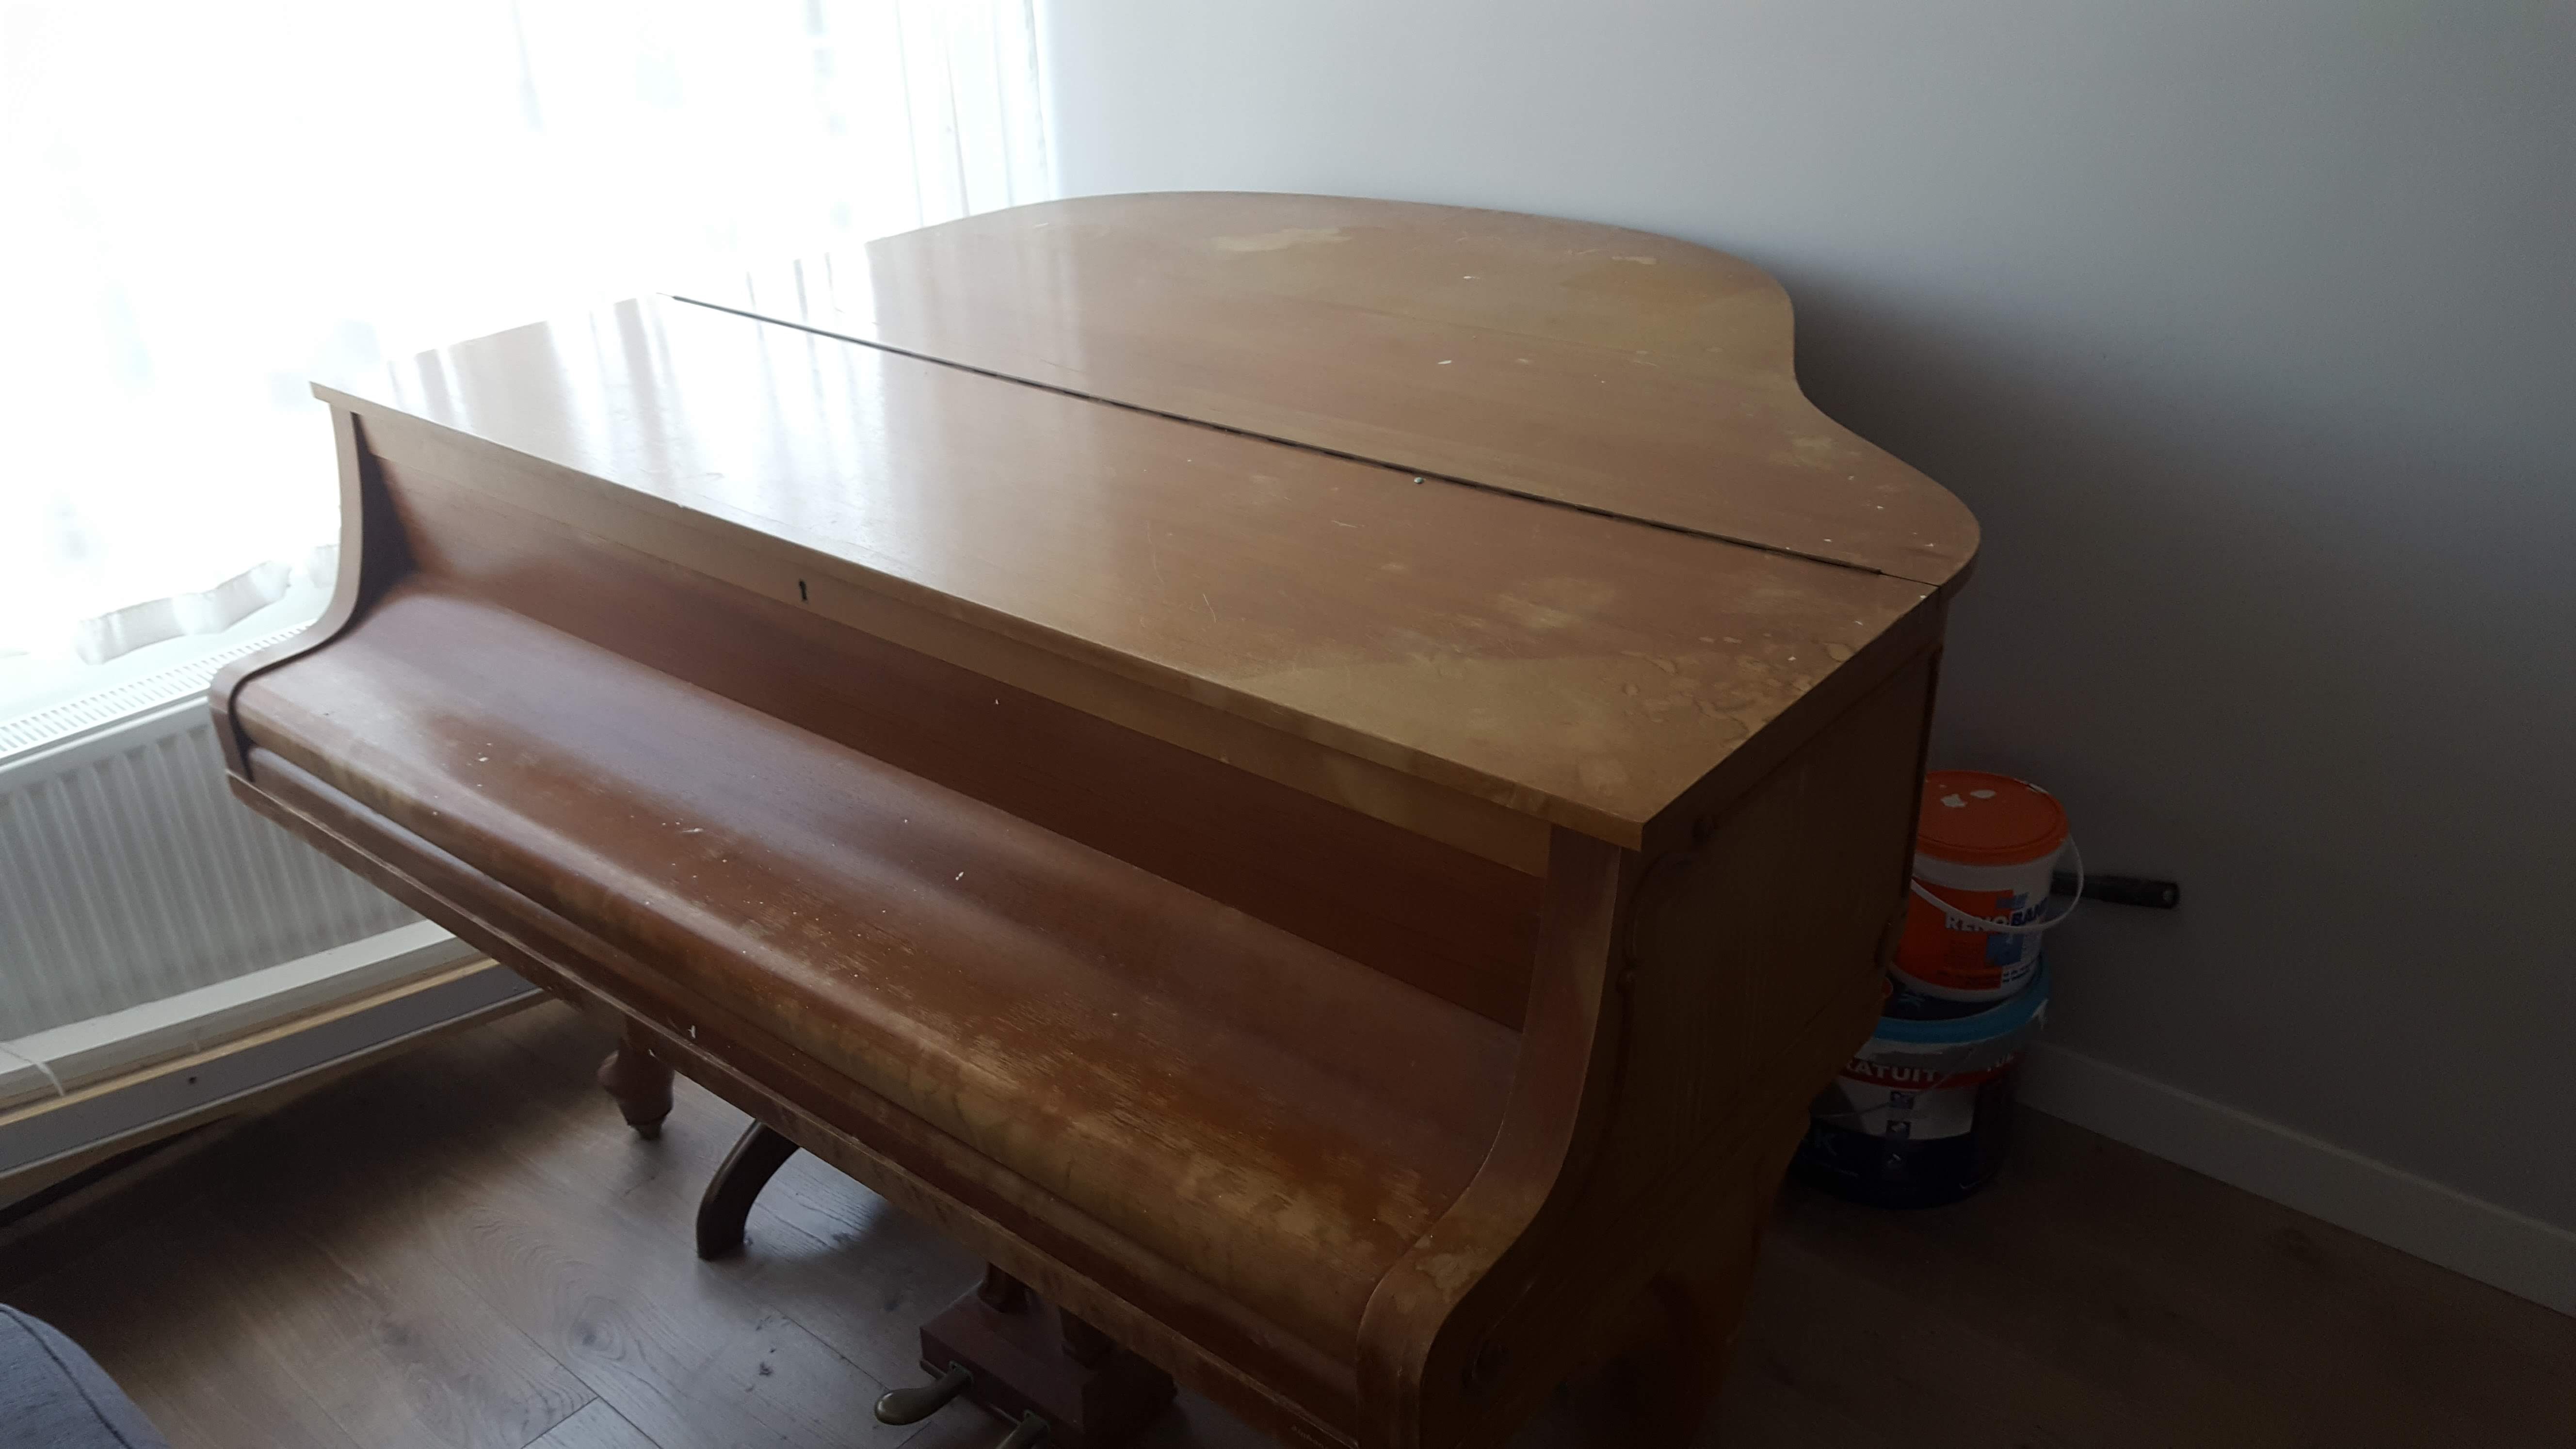
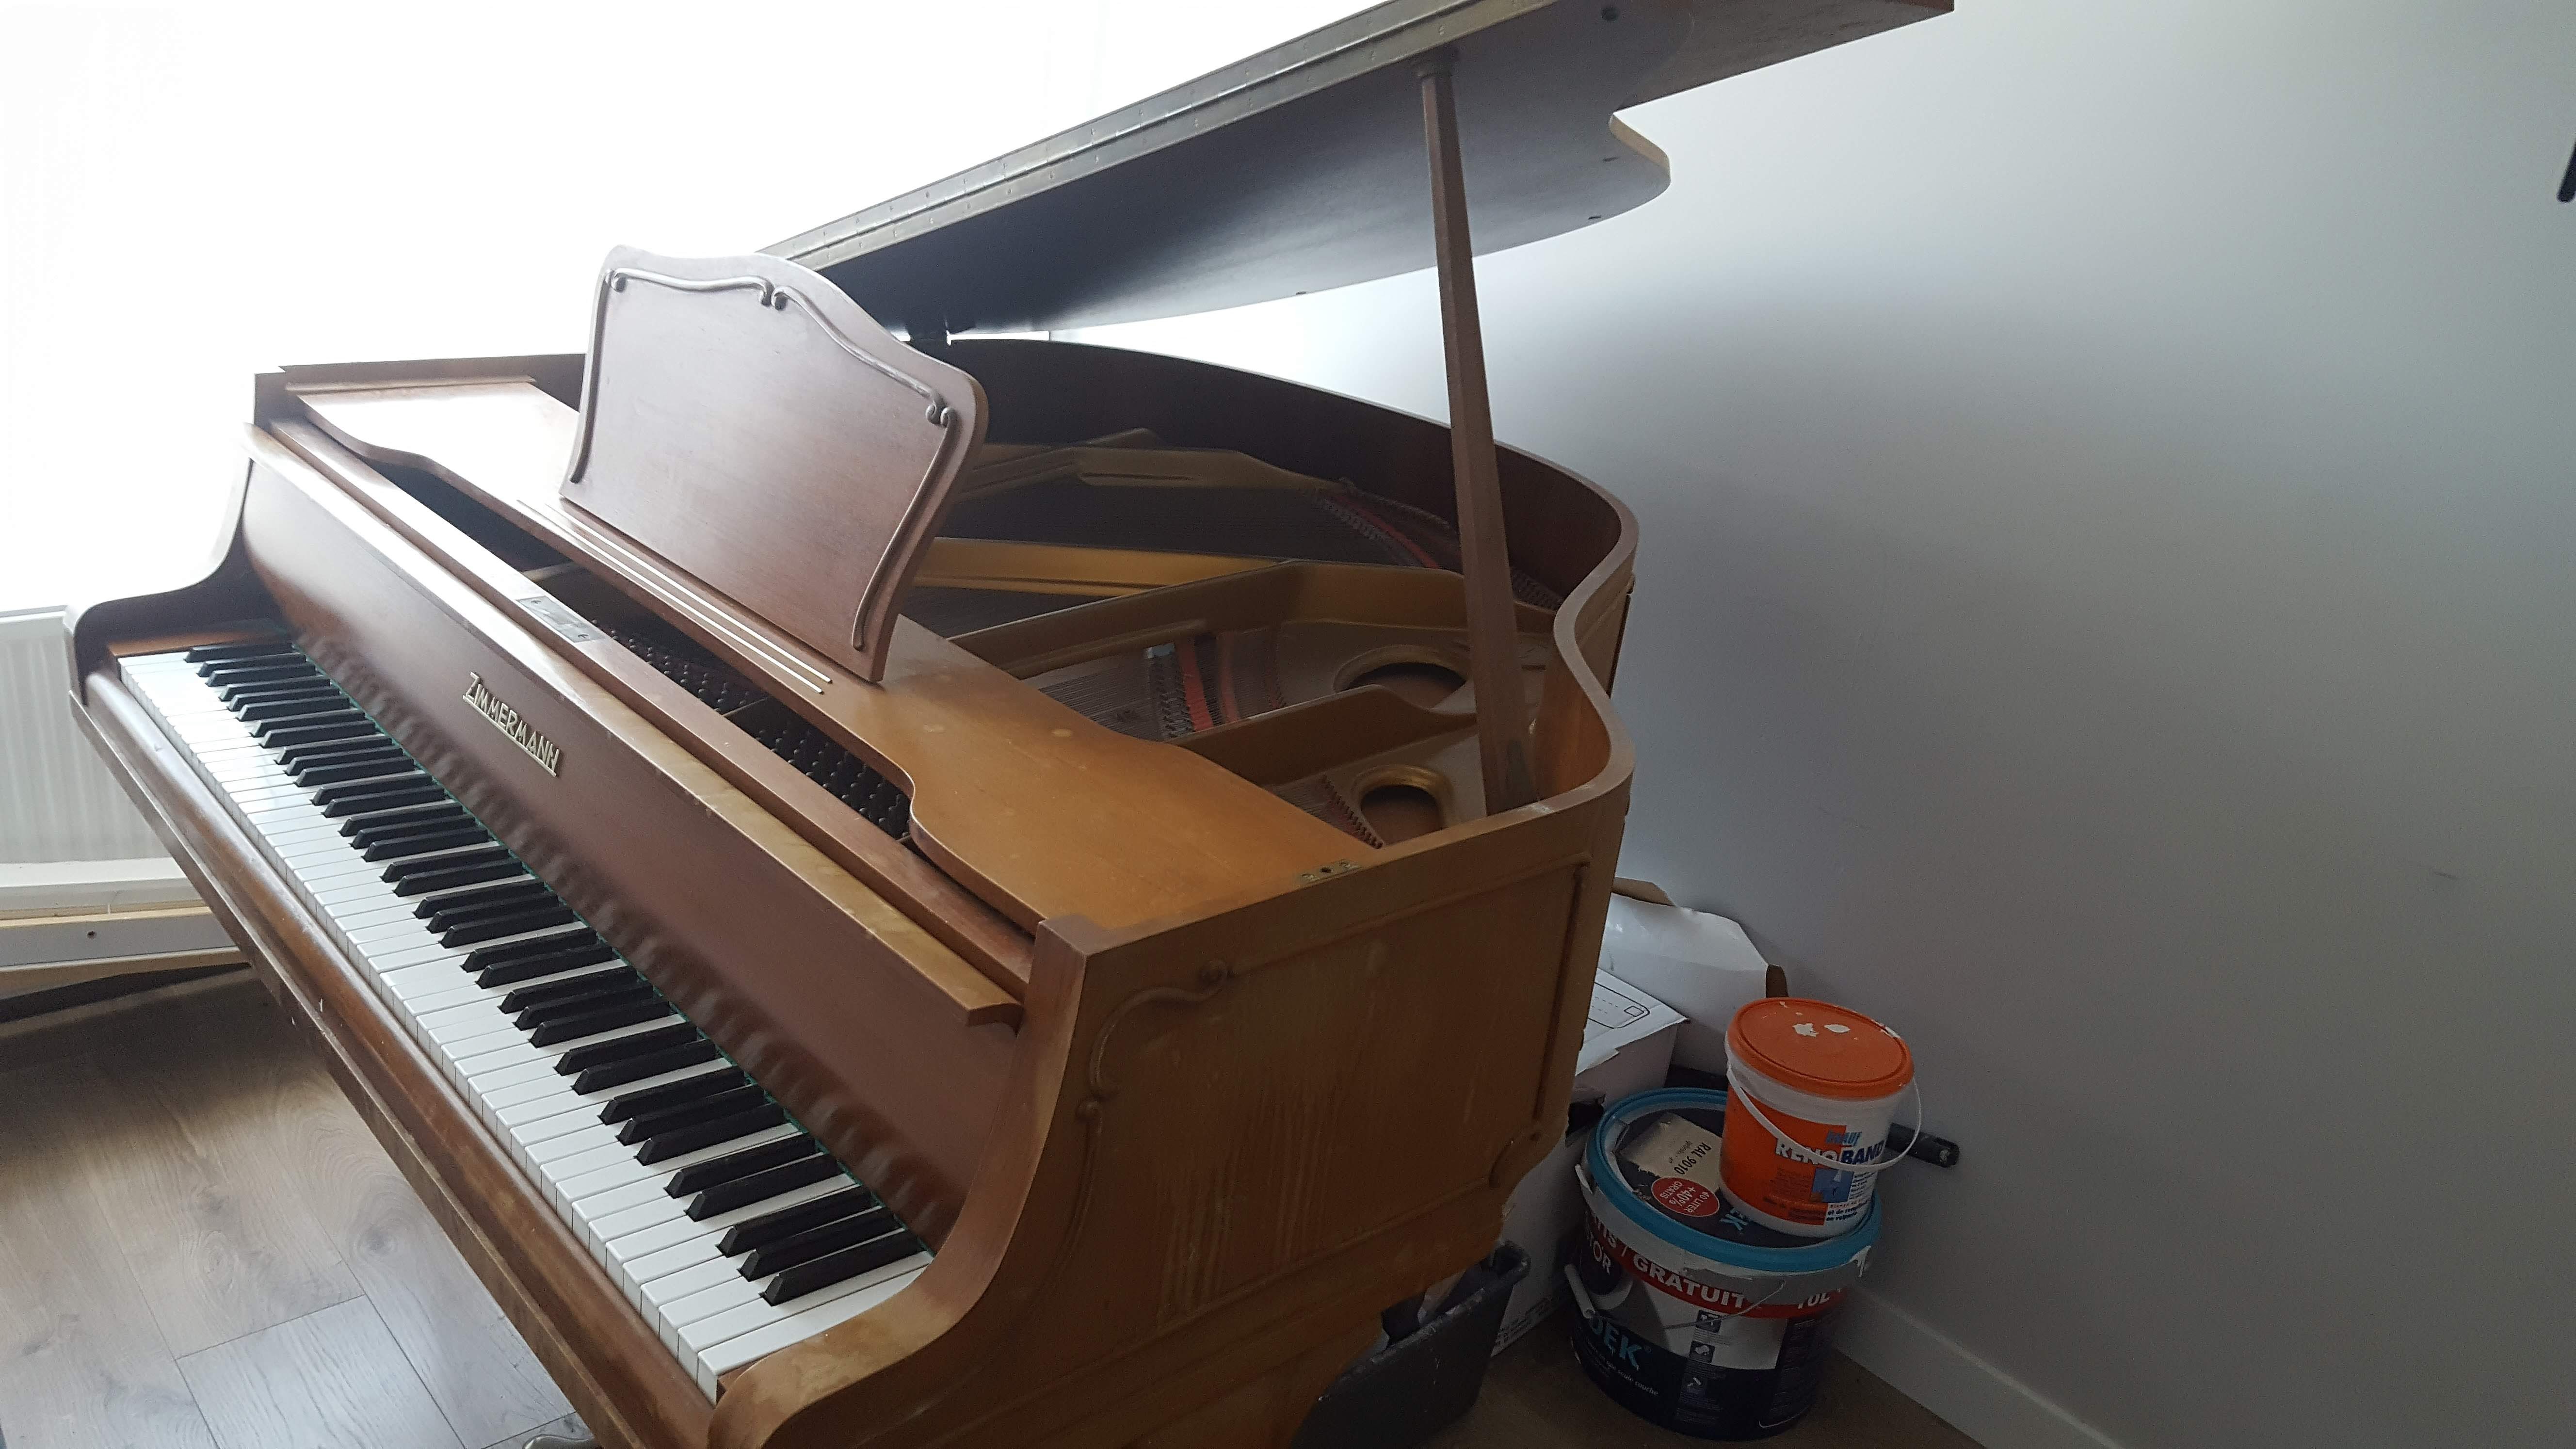
The piano was in very poor shape when it arrived, it had suffered extensive water damage to the case and the strings were quite rusty. There were paint drips everywhere, some strings were broken. The action - notoriously bad on this particular model Zimmermann to begin with, even when brand new - was deregulated to the point that you could not even play ‘Three Blind Mice’ on it. No matter what your skills.
This is what it looked like in the advert:
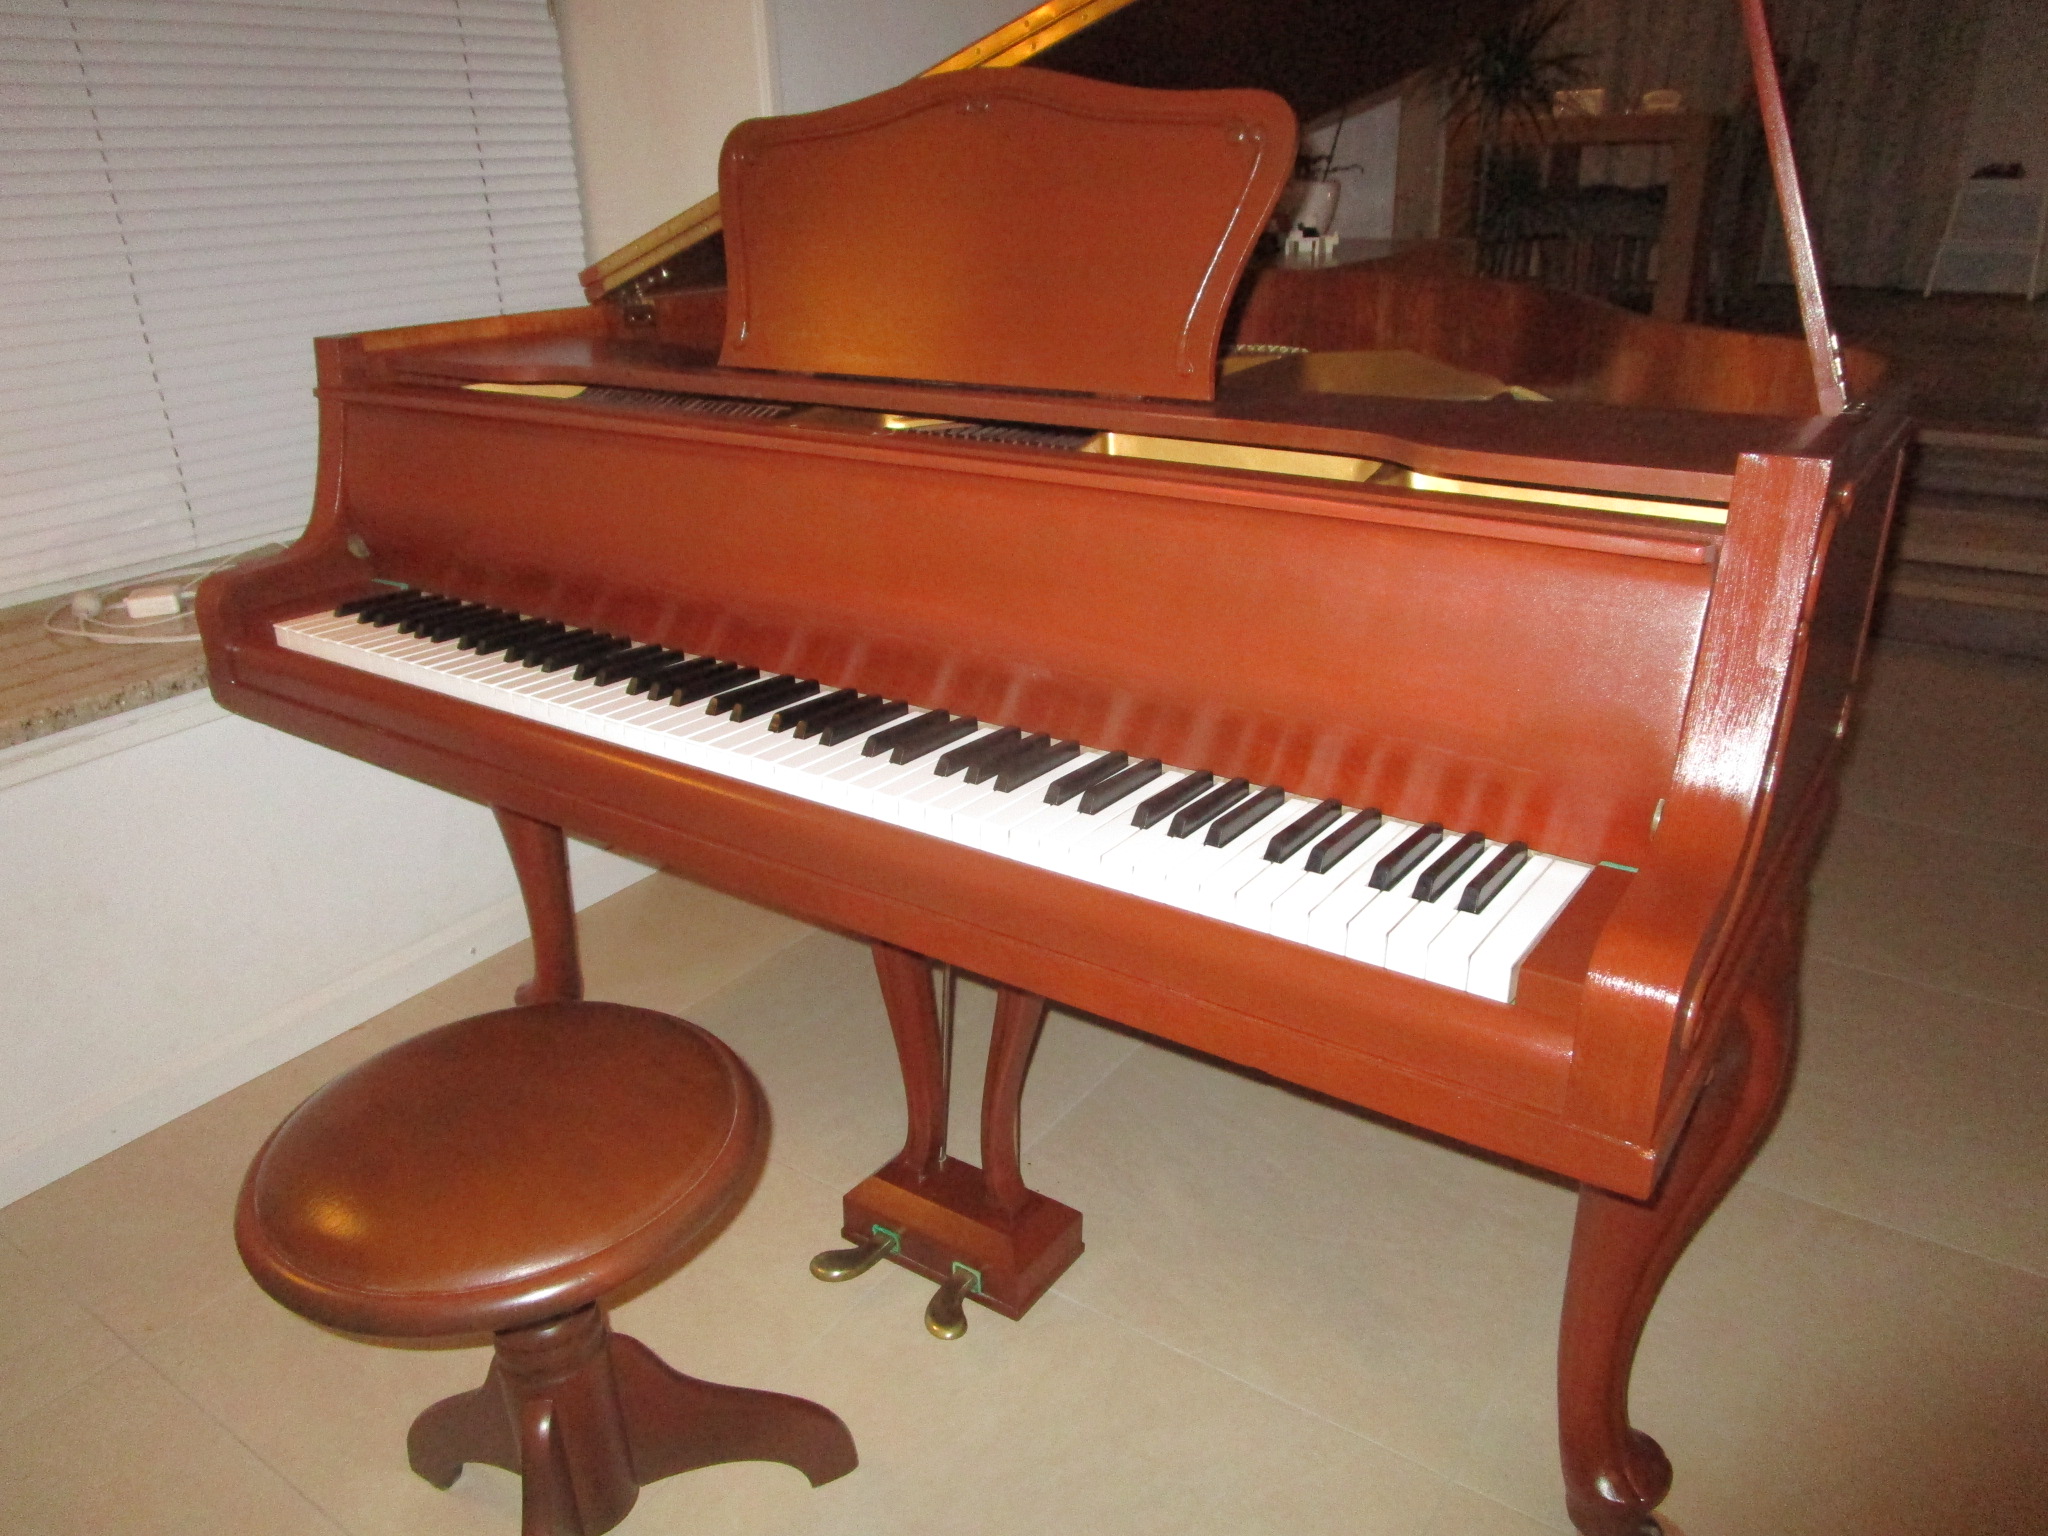
After many hours of work on the action, replacing broken strings, general housekeeping (getting rid of 100’s of moth corpses, they simply loved the felt but for some reason only the green color, the red was in mostly good shape unless simply worn down), shaping the hammers, tuning it up (slowly, it had dropped quite a bit while stored in an unheated garage) stripping, sanding, then lacquering the case and many more hours polishing all the brass until it gleamed it looked like this:
At this point in time I spent a few weeks just playing it and then decided I wanted to ‘MIDI-fy’ the piano to allow me to run Pianobooster on it, a FOSS piece of software that helps you to study playing. Another advert on marktplaats (the local Ebay equivalent) and I had contact with an Amsterdam based piano trader that had a whole Yamaha Disklavier unit lying around gathering dust. Disklavier is something quite special, it is a solution that Yamaha developed to enable their instruments to have MIDI in and out, it is a super expensive option (10K or thereabouts) and the smallest grand that has it sells for 25K! Given the quality of the engineering that has gone into those systems and the fact that they probably don’t sell all that many of them it is understandable but for me this is hobby territory and given that I’m probably the worst pianist in the world I really could not justify an amount of money like that. But for 500 bucks the second hand unit was mine, unfortunately it did not fit the piano, but, the piano dealer had an elderly G3 that it should fit. Both were shipped, and then it turned out that it didn’t fit after all. Major let down.
After mulling things over for a couple of days and deciding whether or not I wanted to operate on a piano that nice I decided against it and back to plan ‘A’, convert the 100 euro piano. Some tests with the midi unit proved quickly that the output stage was going to work, but that the input stage was broken beyond repair, and even if it had worked the optical bridges that scan for keyboard and hammer movements were custom made to fit one piano model only and impossible to adapt. So scratch that bit, but the output alone would already be quite a step in the right direction, and the cost is still definitely justified because just the solenoids would have cost that much, and then you’d still need to control them requiring a lot of firmware and hardware work. It also really helped to keep this a real-world rather than a software project, which is a temptation I usually can not resist (ok, some minor mods to Pianobooster aside…).
This is what the (very old, 1986 or so) Yamaha controller looks like, it is called the Wagon for a reason:

And this is the solenoid bar as made by Yamaha:
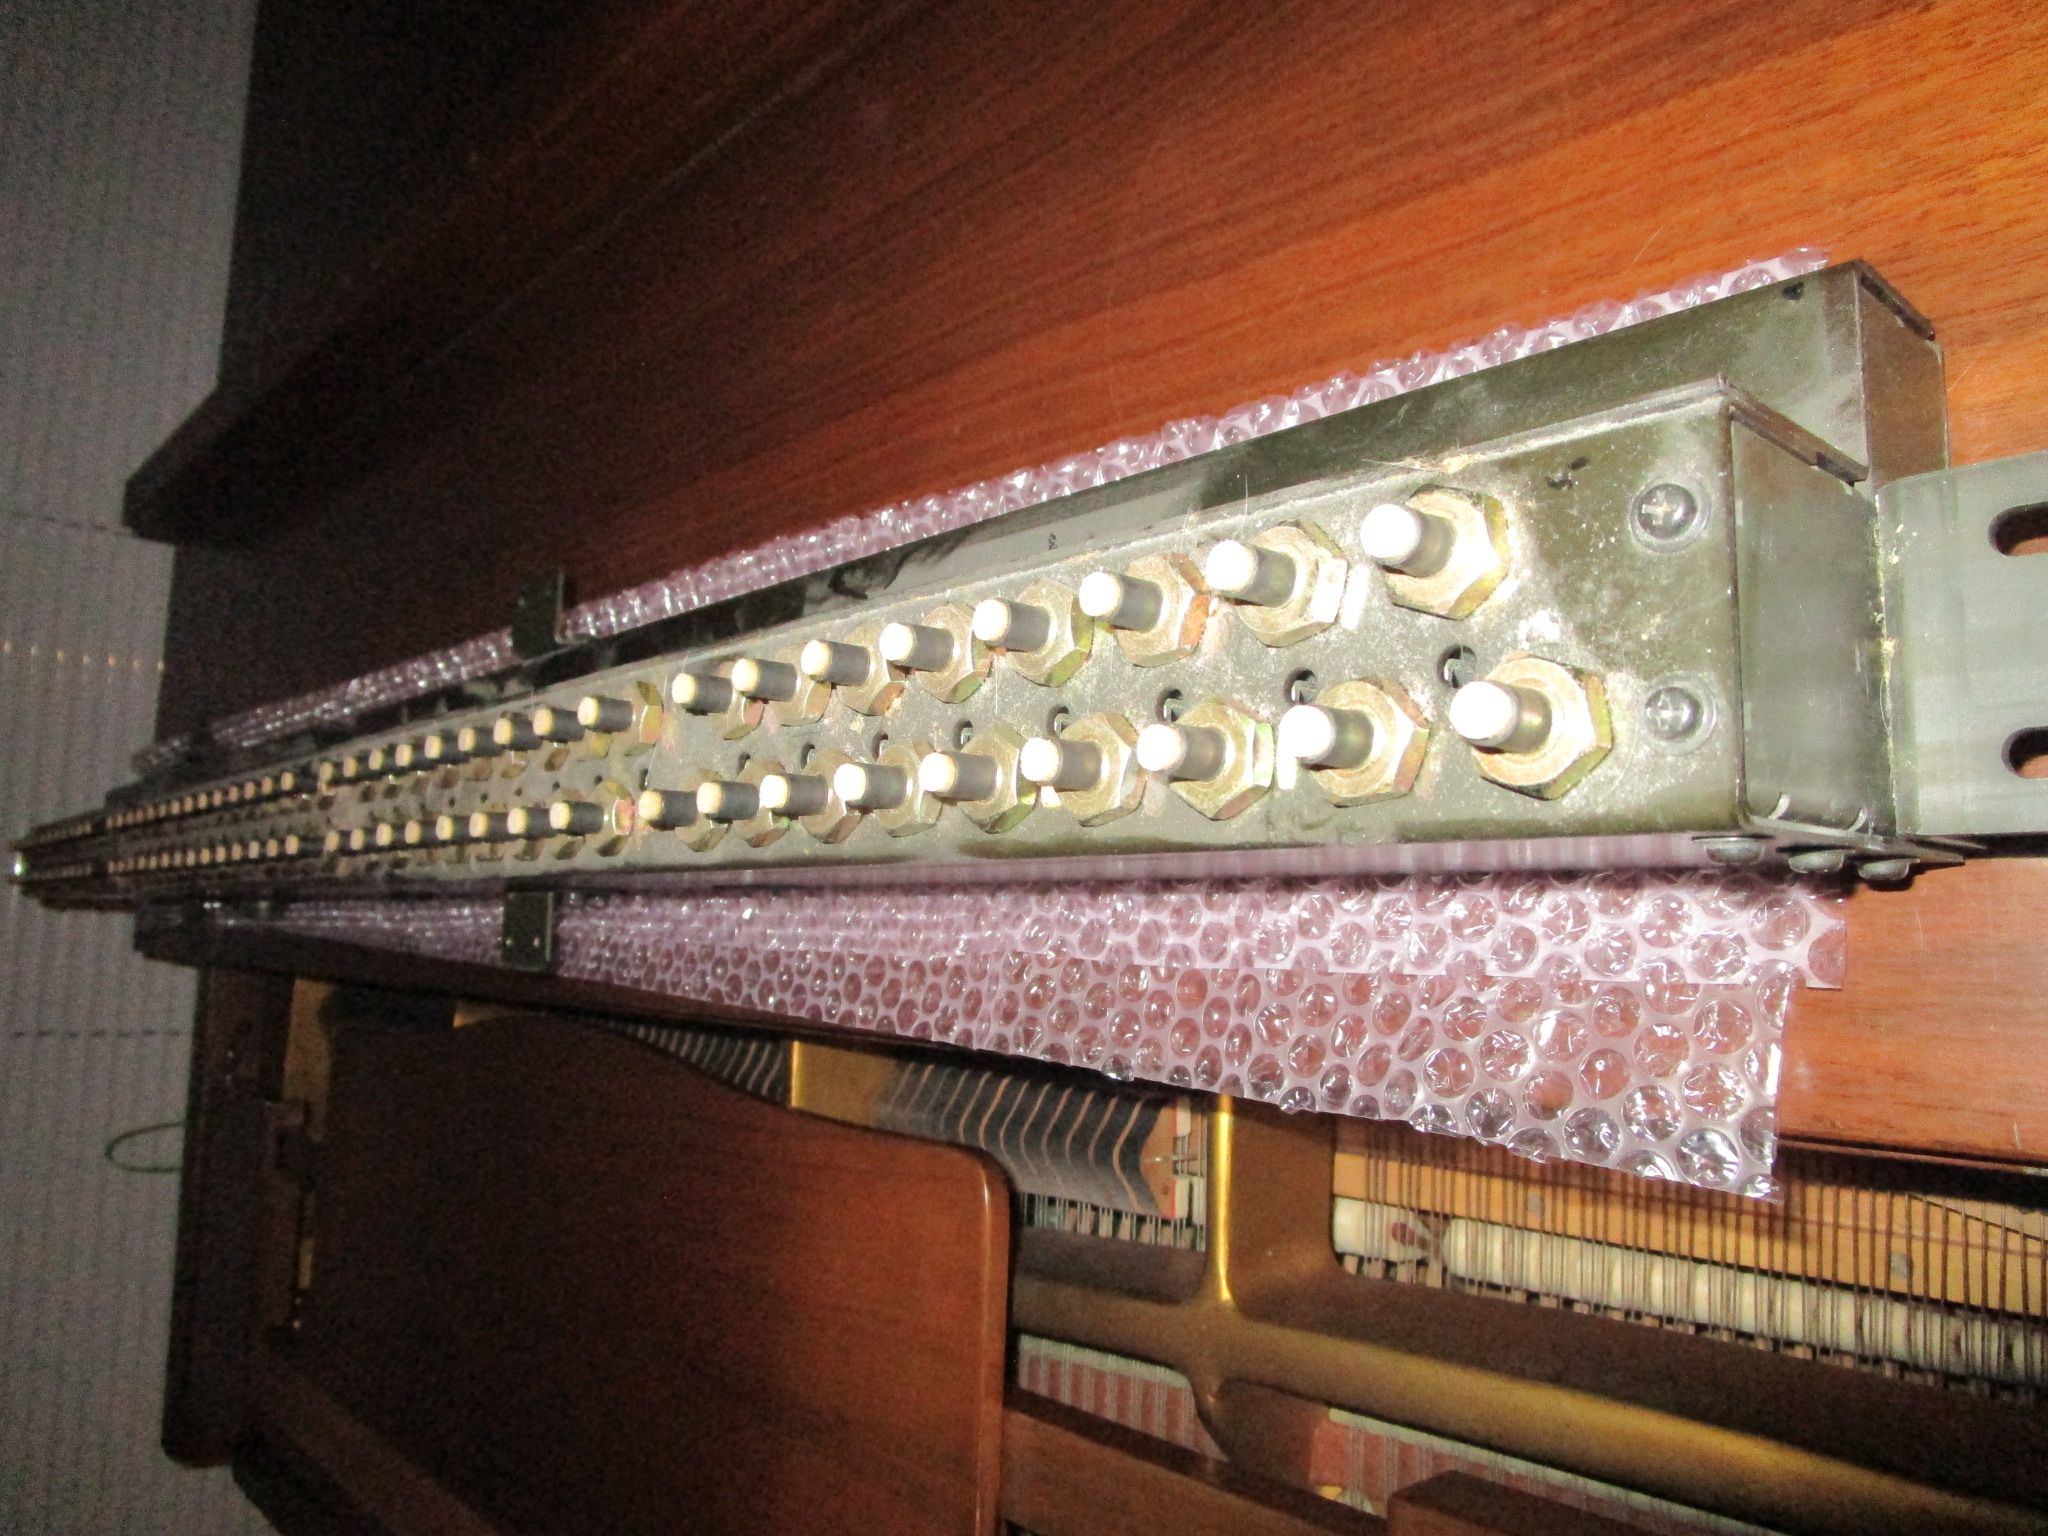
Super heavy, about 25 Kg (50 pounds) for that bar alone.
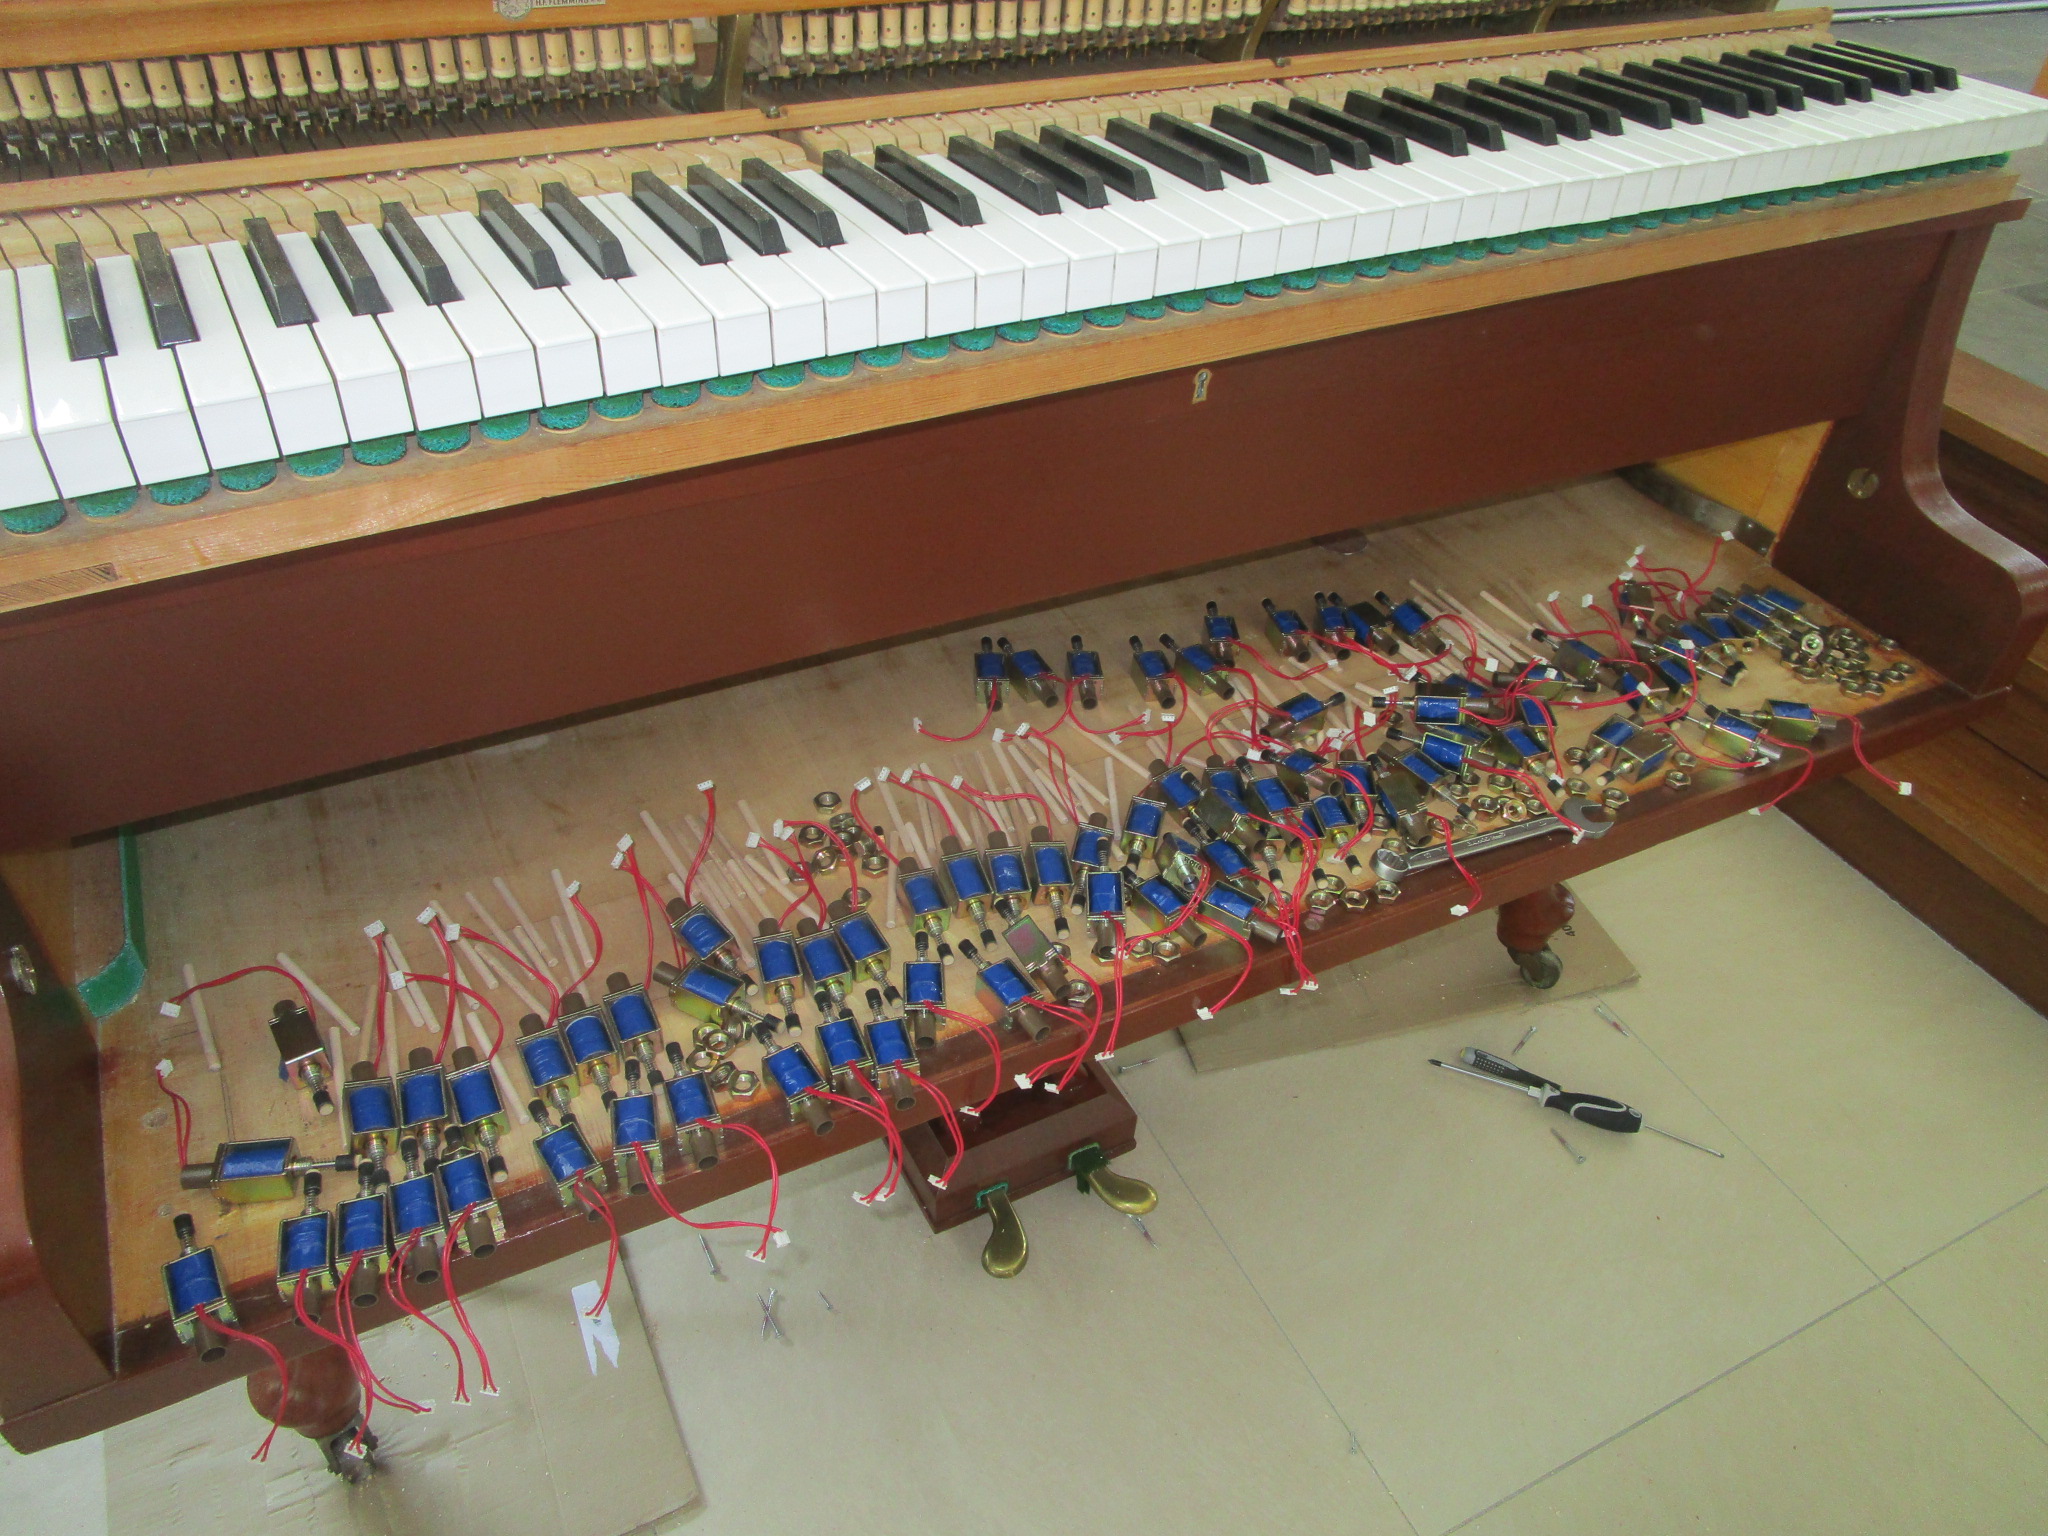
After endless measuring and marking I decided to create a completely new bar from scratch, there was no way that the old bar could be repurposed. So I took out all the solenoids and the electronics and then built a new bar, mostly out of wood and aluminum. To avoid cutting a large gaping hole into the keybed I drilled holes through the keybed that accommodate small wooden sticks that operate the keys. The size of the solenoids is the reason why Yamaha staggered them and I adopted a similar pattern, spacing is so close in places that the solenoids butt up against each other. The stick dimensions are quite critical, as is their location, the back of the action was cut open to accomodate the sticks, and the back of each key was layered with felt to reduce the noise of the sticks acting on the keys:
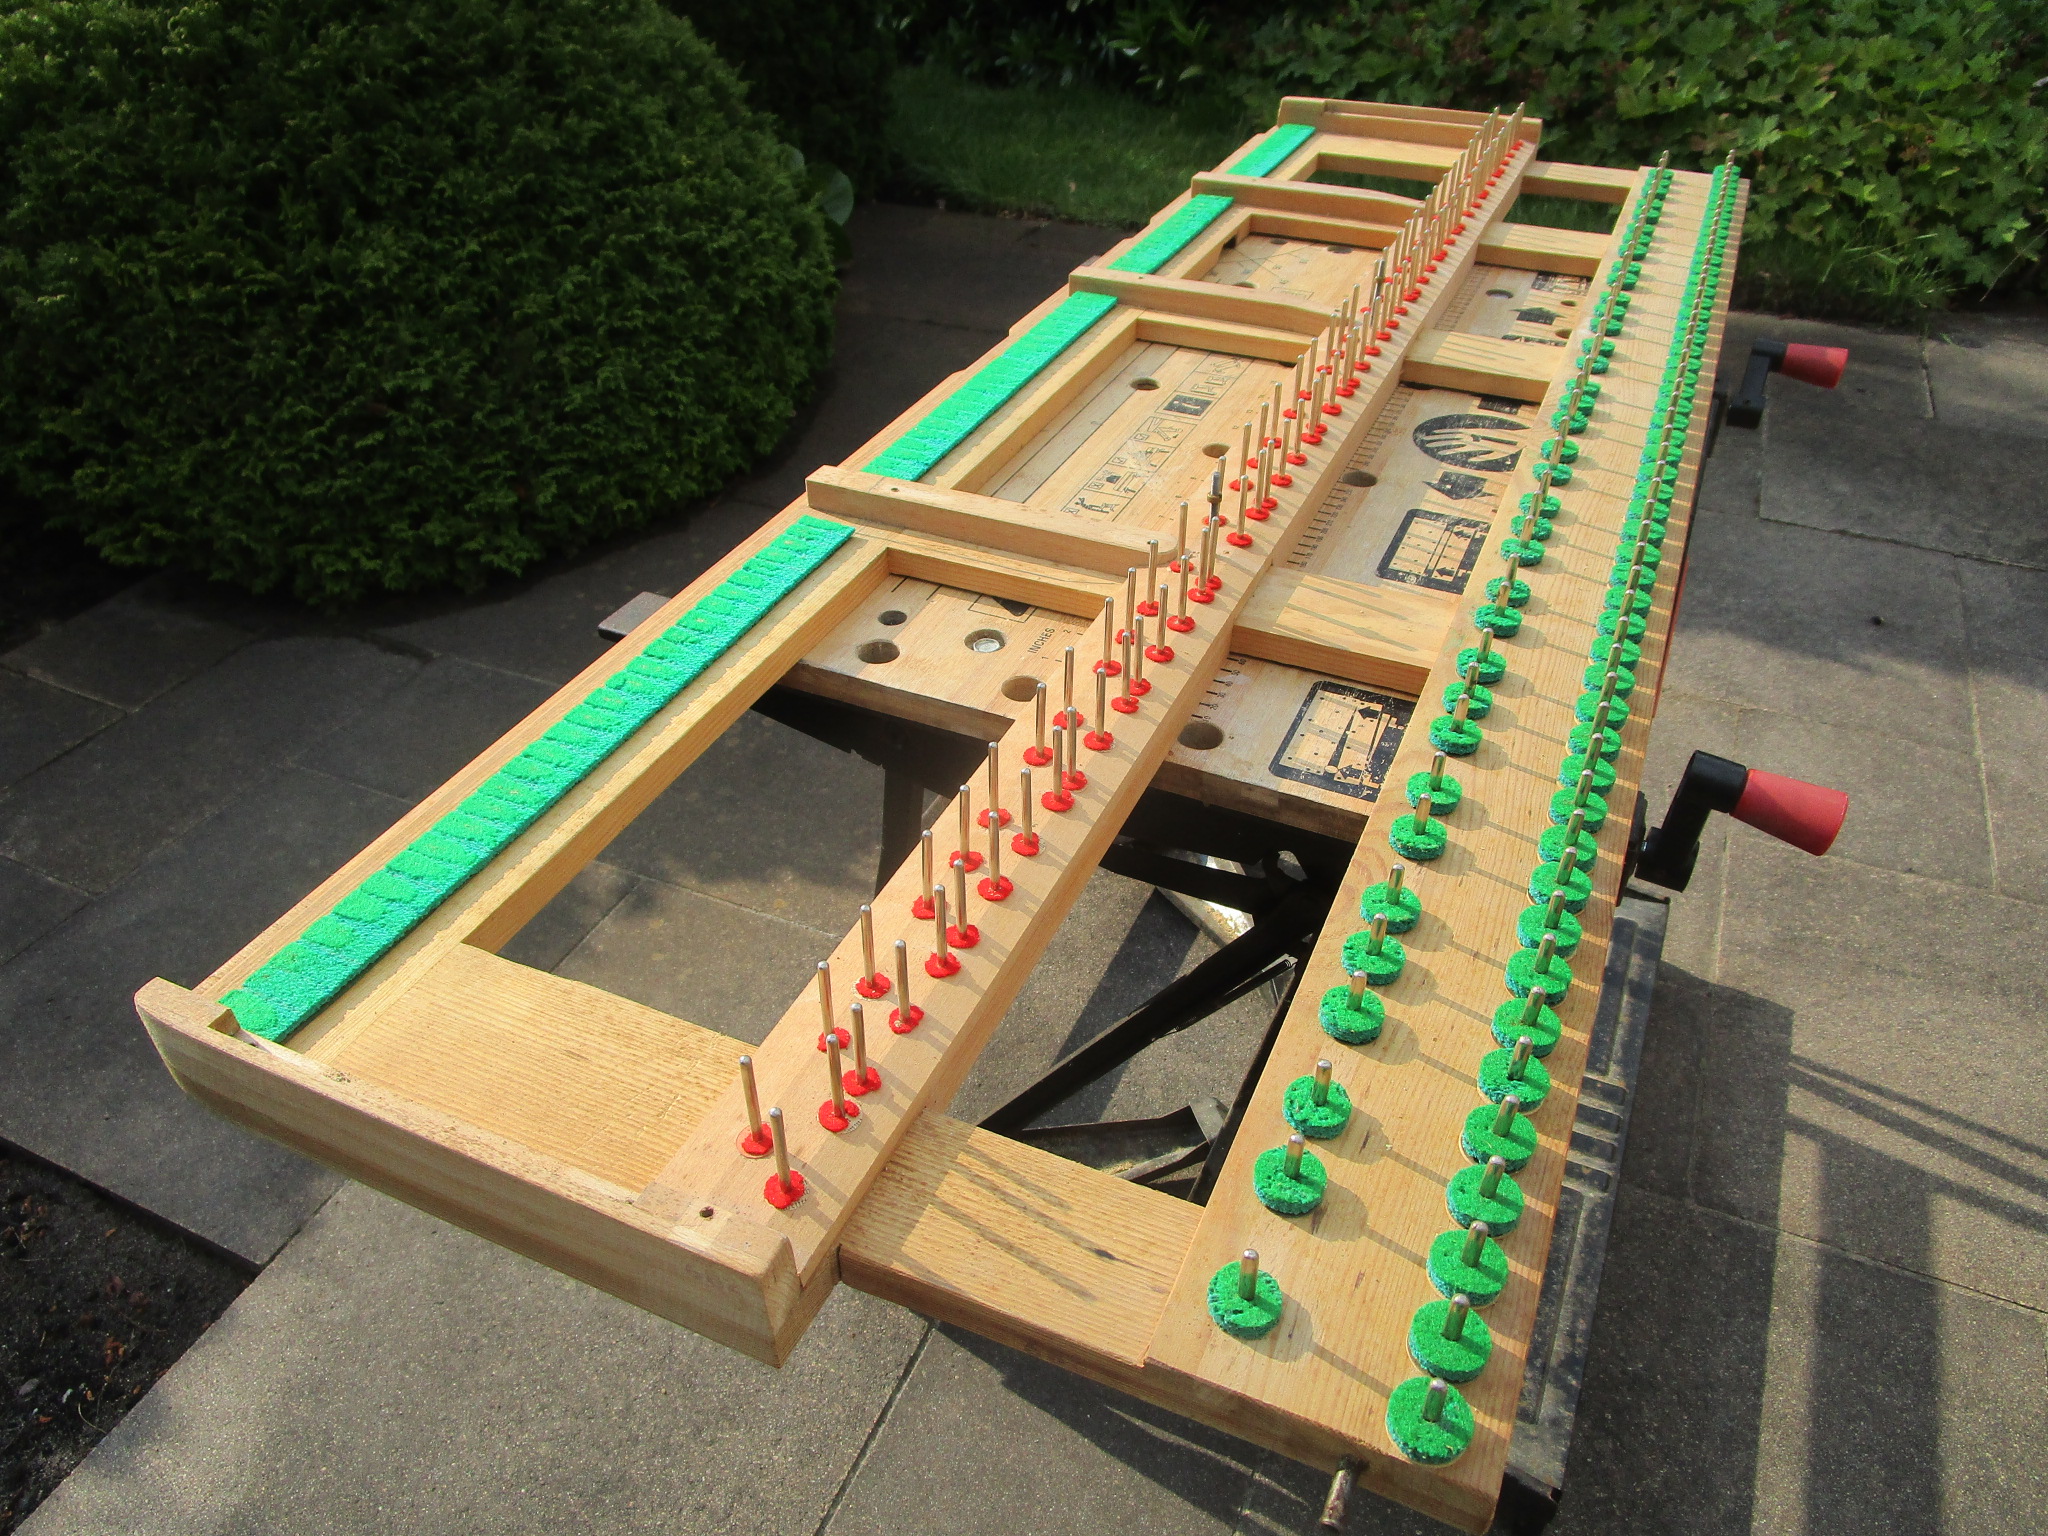
There is a lot of material involved, each key has a solenoid, a pushrod, needs a hole drilled, a key to be covered with felt and so on. This made the whole project quite time consuming. And if you get something wrong then you are going to have to fix your mistake as many times as you have keys…:
I wished I could say that only happened once!
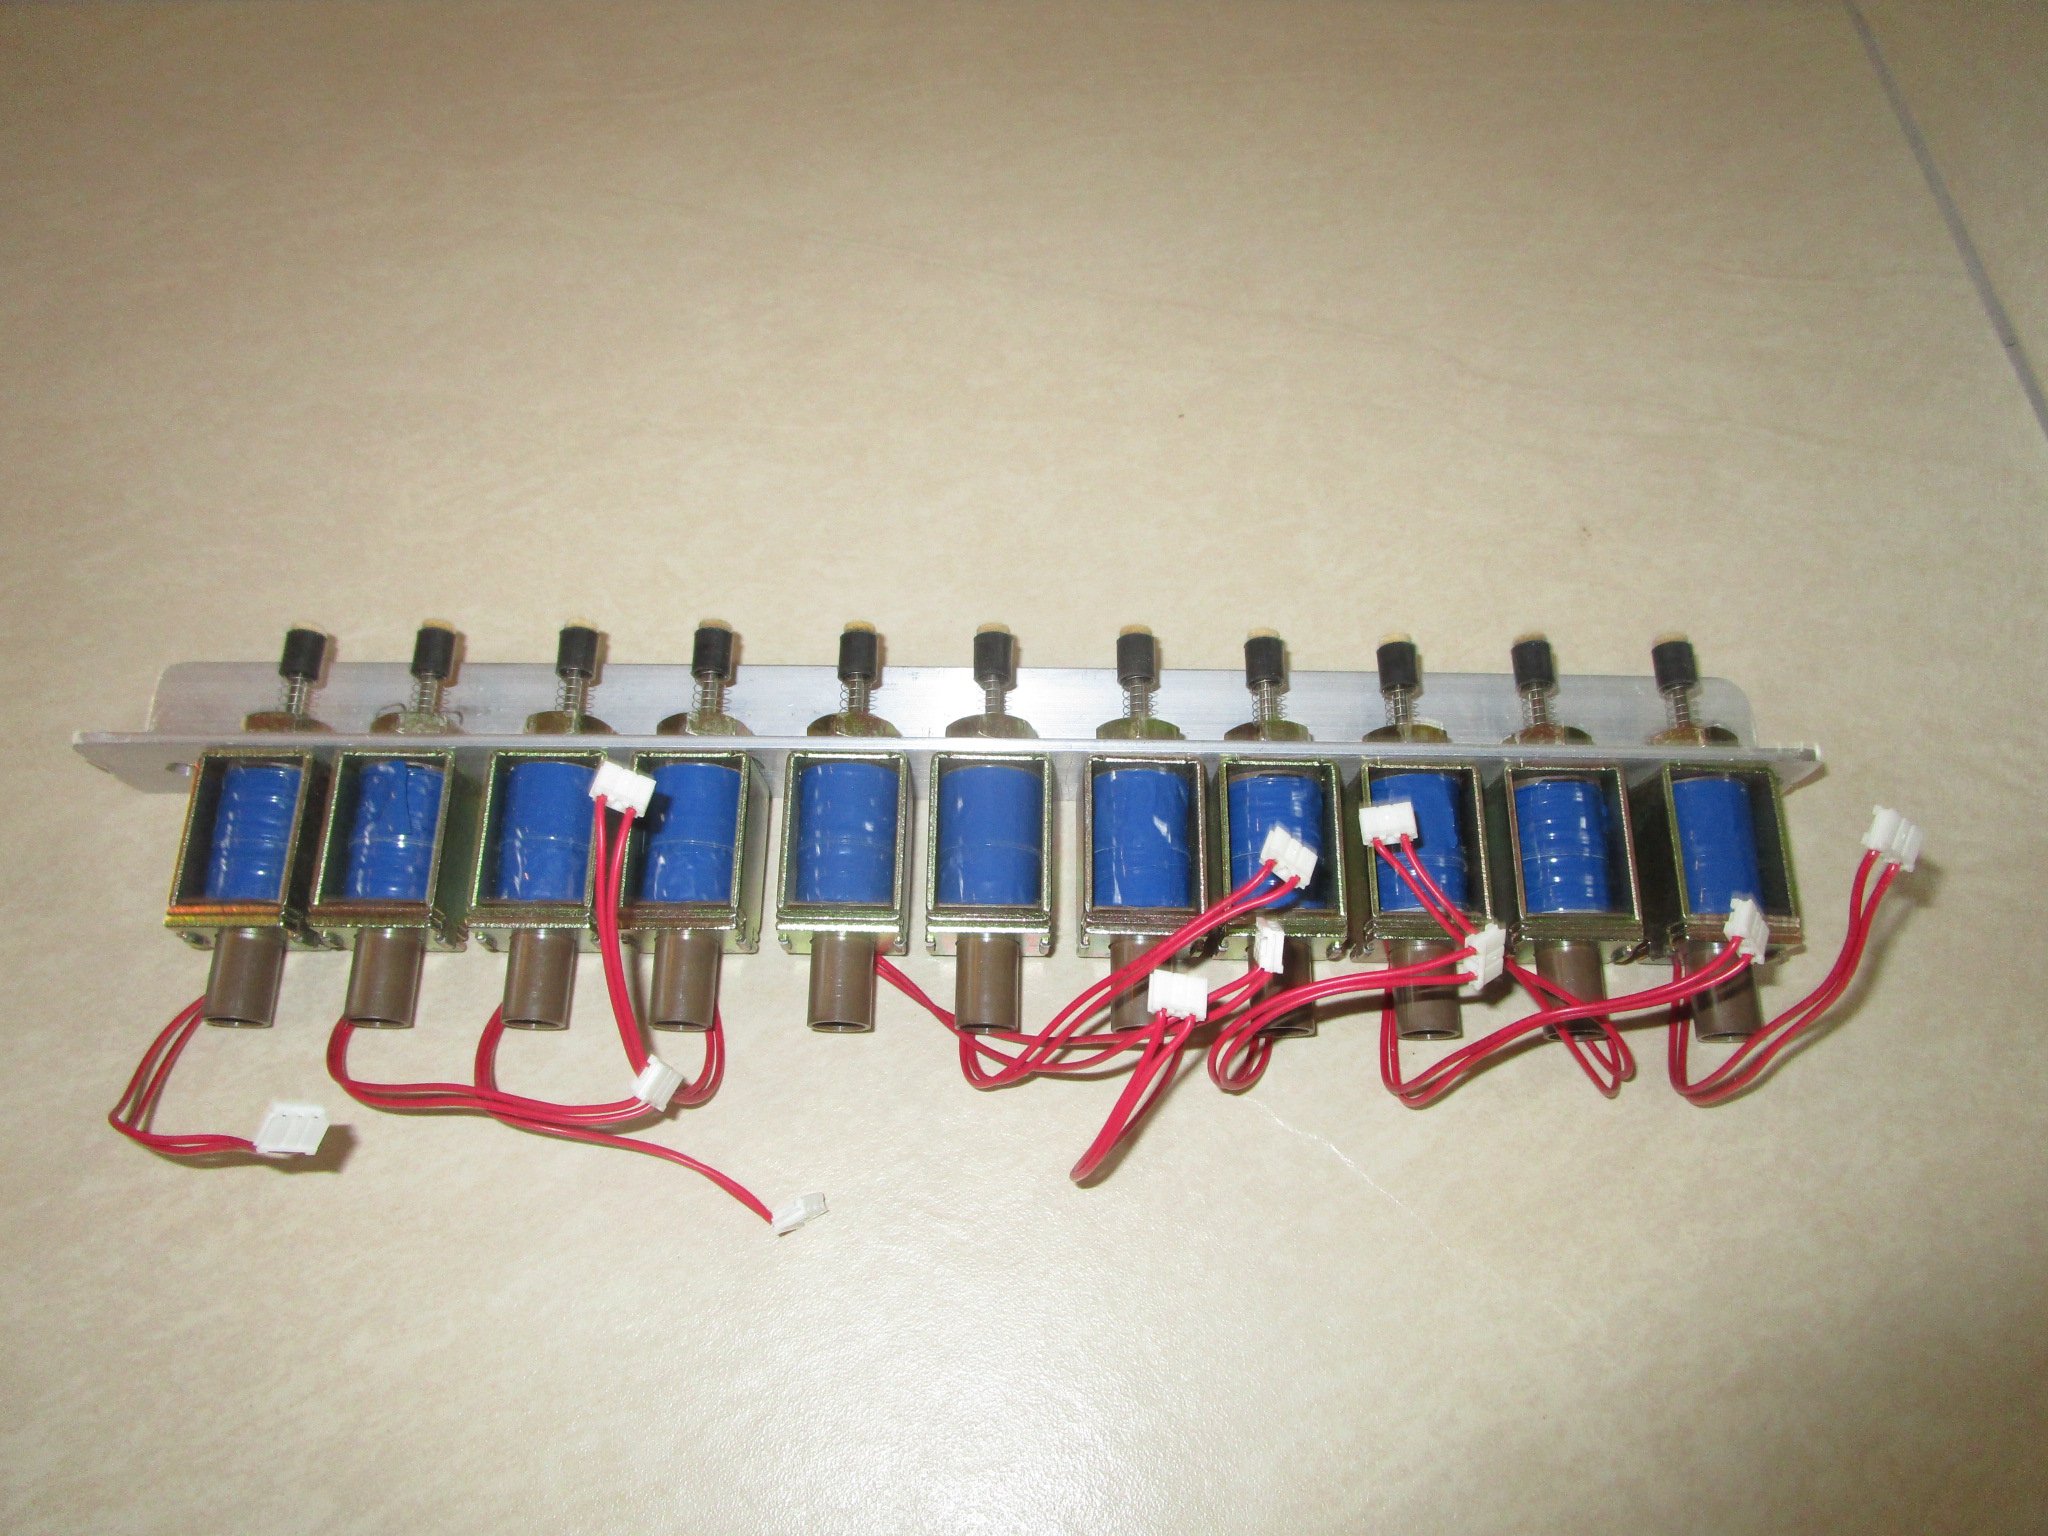
To make it easier to disassemble and fix than the original I’ve divided up the solenoids into groups which can be removed independently:
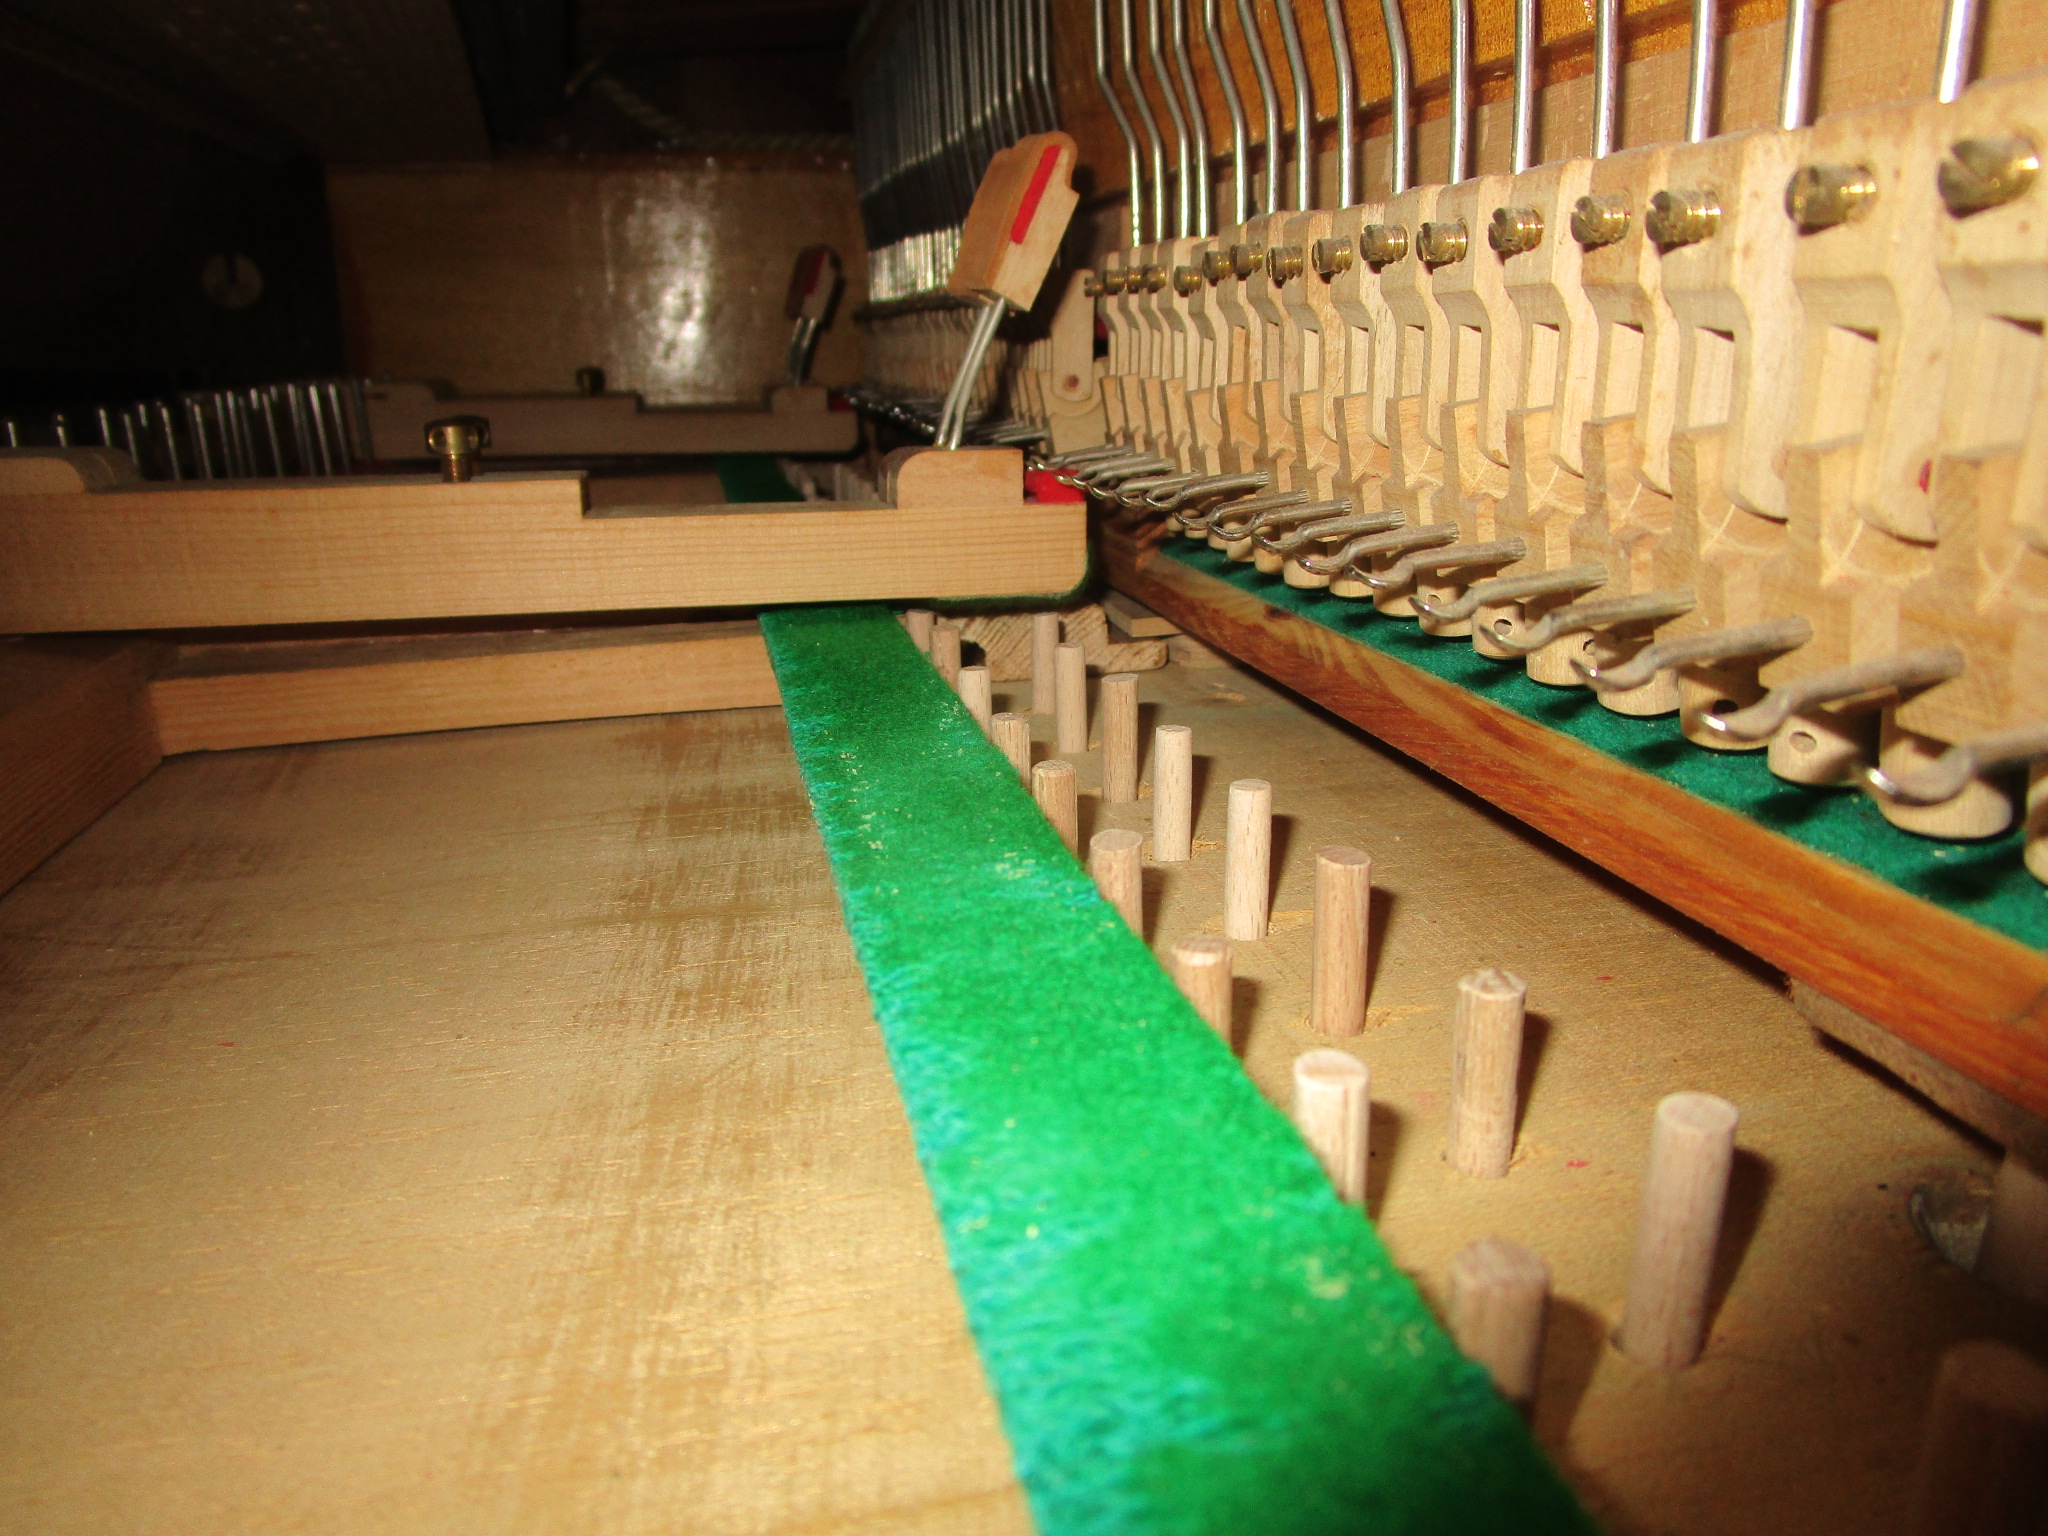
In this close up you can see how critical the spacing of the components is, it is close to 1/10th of a millimeter in places between ‘working’ and ‘failure’, that’s how irregular the action of the original piano is! This is in part what made this such a hard project, there was absolutely no regularity at all in spacing between the individual keys, it may look like that in the pictures but the thinnest key was about 8 mm wide, and widest 22!
And here is the finished article, playing Debussy’s Arabesque 1, note the pedal action (a giant servo controls the pedal):
So, now I need to find a way to do the input side and then tie it all together with the appropriate software, for now it works quite nice as a modern day Pianola or Player Piano. Maybe I’ll be able to scrounge up a second hand silent system from somewhere, if I can’t I may roll my own.
To be continued!